
If you’ve been training for any length of time, you know that aches and injuries are part of the deal. Maybe your shoulder feels pinched when you press overhead. Maybe your knee flares up after squats. Or maybe your lower back tightens up every time you deadlift.
Here’s what most people get wrong: they either push through the pain and make it worse, or they stop training entirely and lose everything they’ve built. Neither is the answer.
The smarter move is to train around the problem, swapping movements, adjusting technique, and programming in a way that protects the joint without stalling your progress. That’s what this guide covers.
Not all pain is the same. Some discomfort is a normal part of training. Other pain is a signal you need to listen to.
A simple rule: if the pain is changing how you move, if you’re limping, compensating, or twisting to avoid it, stop the movement and modify.
Stop training and get assessed if you notice sudden sharp pain during a lift, swelling or bruising, numbness or shooting pain down your arms or legs, or pain that hasn’t improved after two weeks of modifications. A physiotherapist or chiropractor can usually tell you within one session whether you’re dealing with something minor or something that needs real rest.
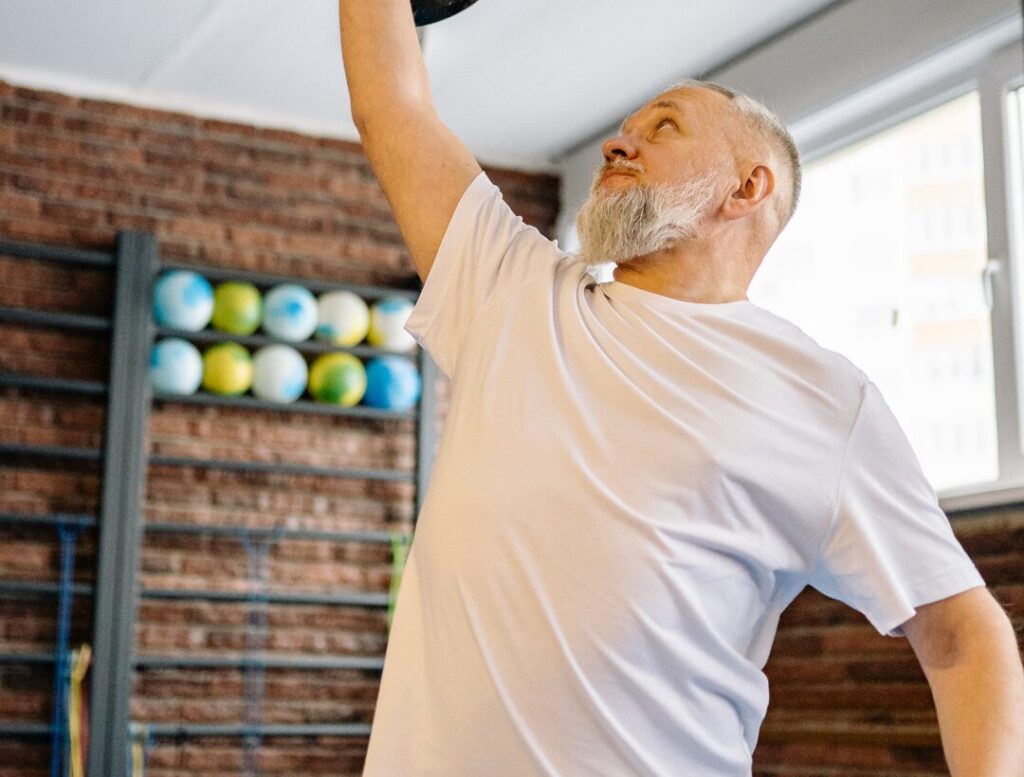
The shoulder is the most mobile joint in the body, which also makes it the most vulnerable. Rotator cuff irritation, impingement, and tightness from desk work are all common. The most common mistakes are pressing overhead with poor scapular control, using a grip that’s too wide on the bench press, and doing far more pressing than pulling over time.
Keep your shoulders down and back. Press with elbows at 30 to 45 degrees rather than flared wide. Don’t force range of motion beyond where the movement feels clean.
Knee pain during training usually shows up as patellar tendonitis, patellofemoral pain, or general crankiness after squats and lunges. In most cases, the knee isn’t the real problem; weak hips and limited ankle mobility are. Common causes: knees caving in during squats, poor glute activation, overuse from high-impact cardio, and worn-down footwear.
Track knees over toes and don’t let them cave inward. Control the descent rather than dropping into depth. Stop at whatever depth keeps your form clean. Depth matters less than quality.
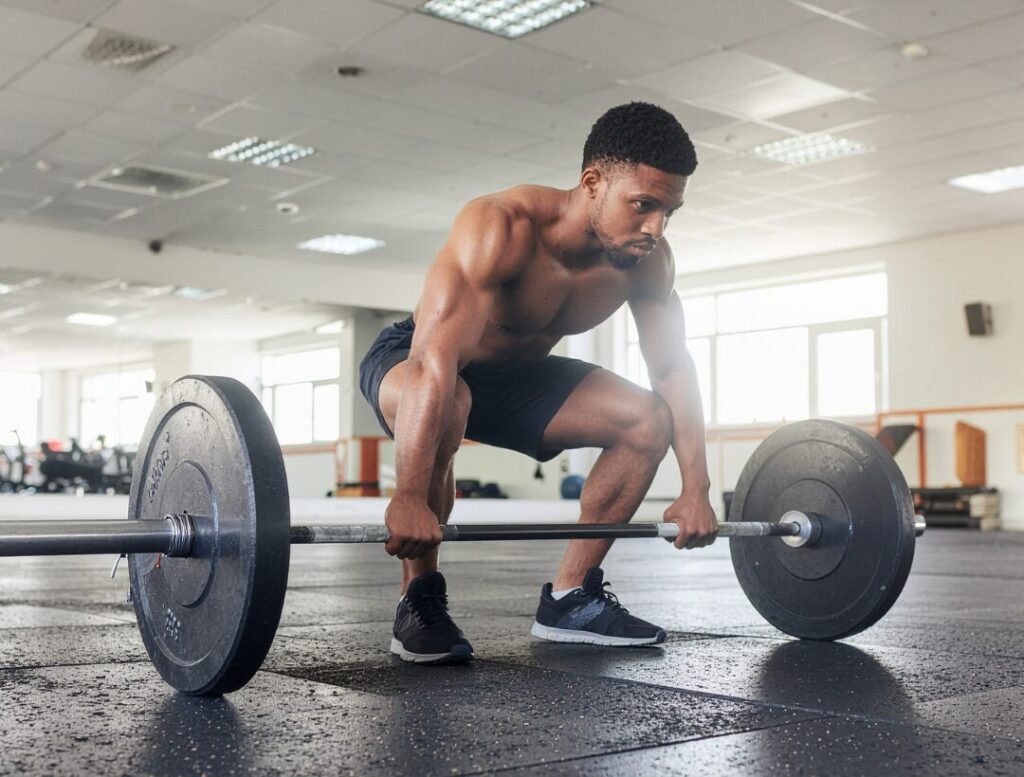
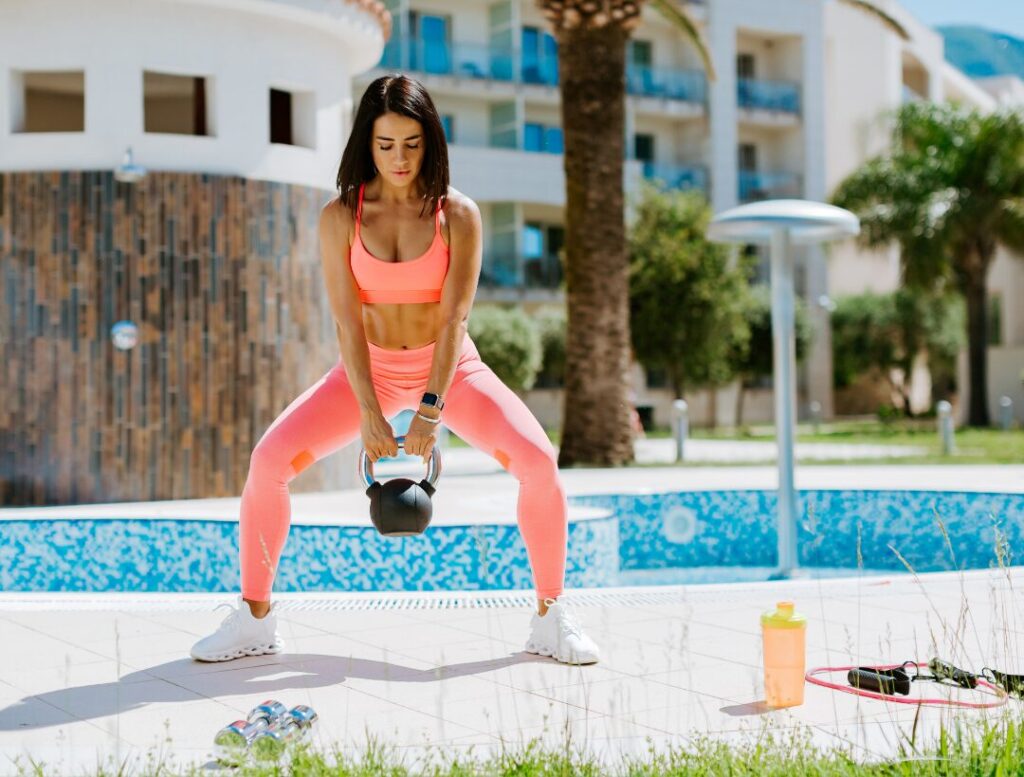
Lower back issues are one of the most common complaints in the gym. The usual culprits are rounding during deadlifts, overarching during squats, weak glutes and core, and too much sitting outside the gym.
Maintain a neutral spine throughout, not rounded, not overarched. Brace your core before the lift. Hinge from the hips, not the lower back.
Warm-up: band pull-aparts, wall slides
Warm-up: glute bridges, ankle mobility drills
Warm-up: cat-cows, bird-dogs
Even the best modifications have limits. If pain keeps getting worse week over week, or you can’t find any variation that feels clean, it’s time to step back.
Long-term progress beats short-term ego every time.
Training through pain isn’t about toughing it out, it’s about being smart enough to find the version of the movement that works for your body right now. That’s a skill that takes experience.
If you’re dealing with a nagging issue and want a program built around it, that’s exactly what we do at Train Like Rob. Book a free consultation, and we’ll put together a plan that keeps you moving and making progress.